Gas Line Installation, Rules for Safe and Efficient Setup
Installing a gas line at home takes planning, the right materials, and strict attention to safety. If you’re connecting a stove, water heater, furnace, or even an outdoor grill, it’s understandable to feel a bit intimidated by the process.
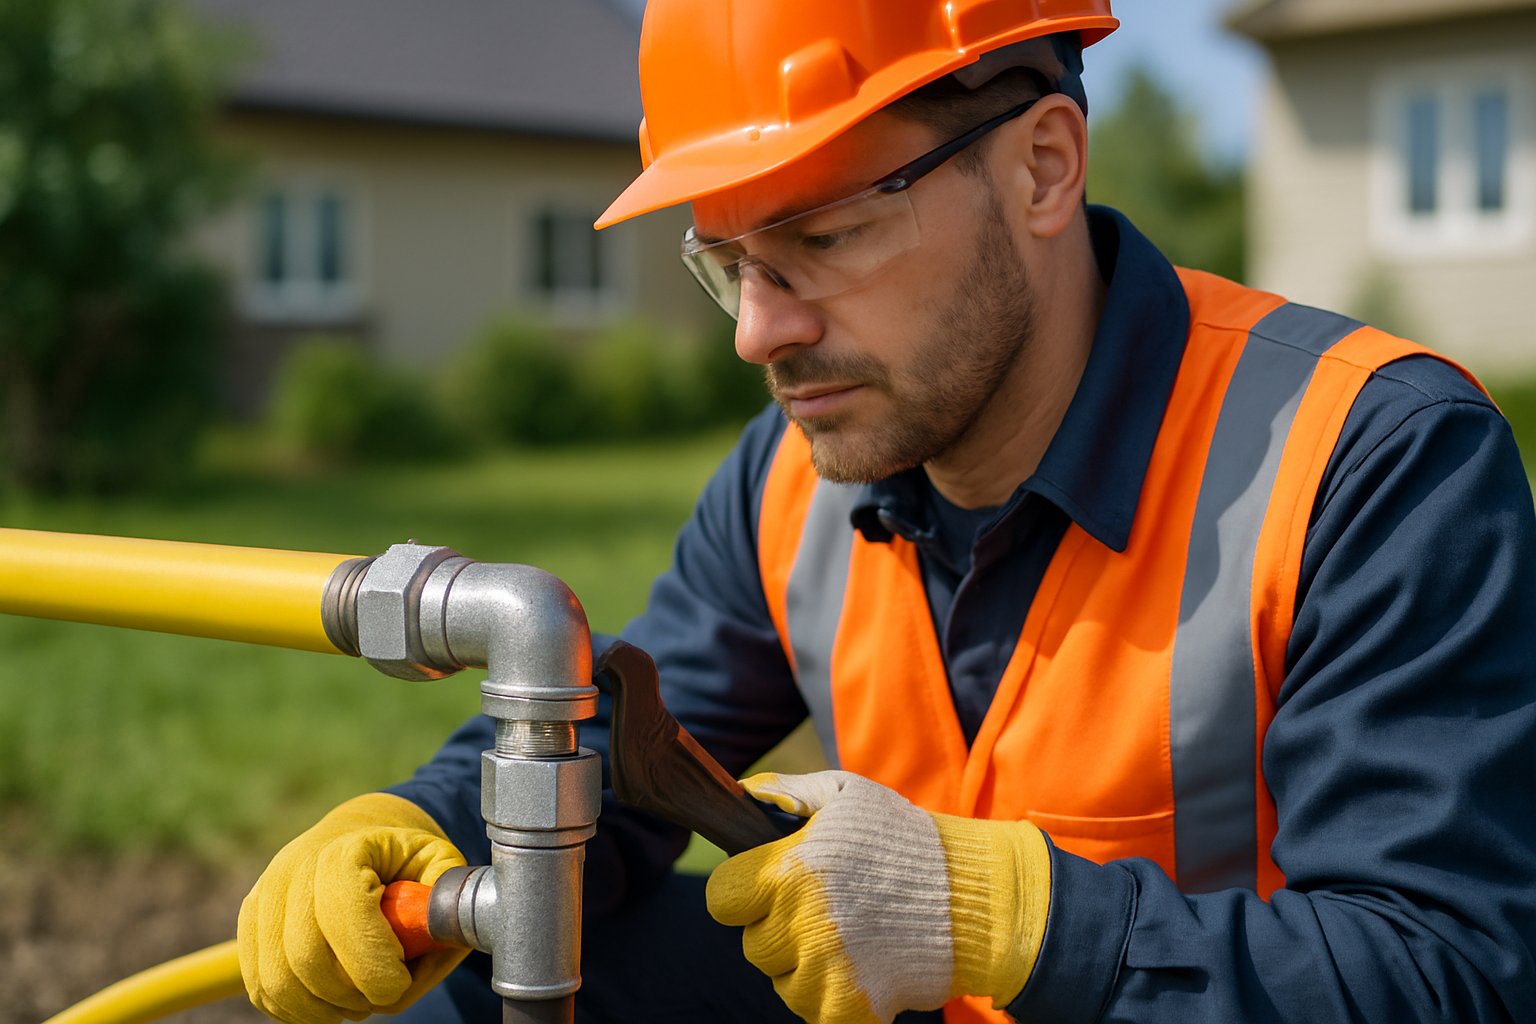
Gas line installation means laying or extending pipes that bring natural gas or propane from your main utility line to each appliance. Because these pipes carry flammable fuel, you really need to get the technical side right for safety and efficiency.
Most places require permits and professional certification. The risks are real, so the rules are strict.
I’ll try to break down the basics—permits, materials, design, and the installation process. You’ll also find info on inspections, maintenance, and a few of the questions people usually ask when tackling a gas line project.
Understanding Gas Line Installation
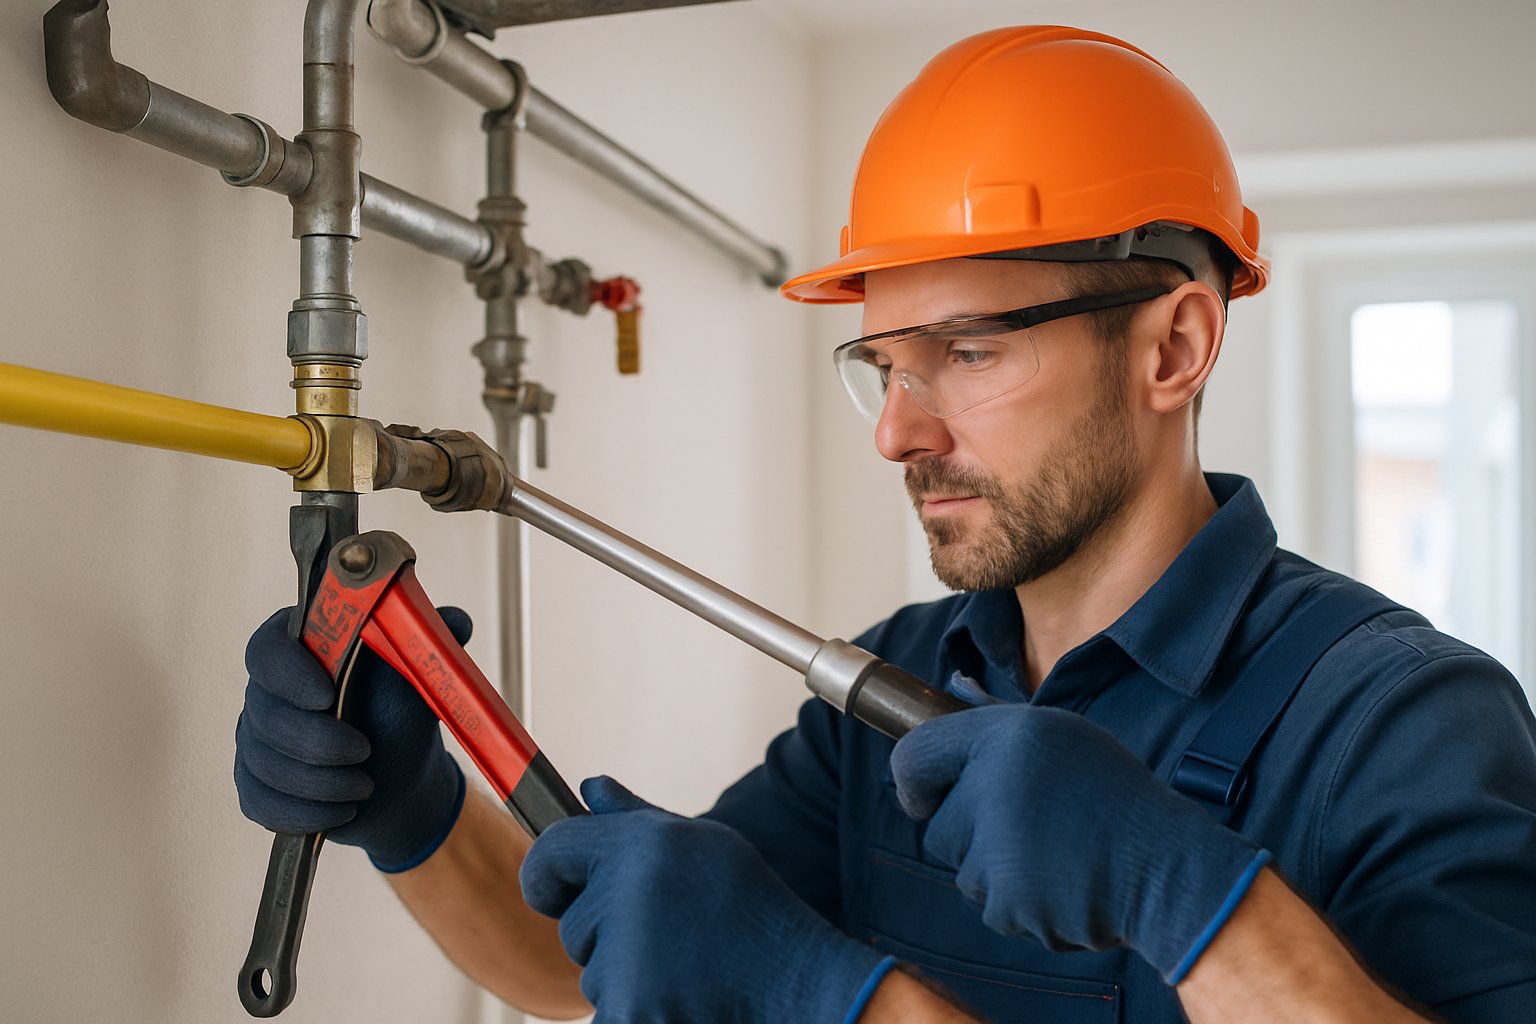
Gas line systems move fuel from the main supply to each appliance through a network of pipes. These setups usually carry either natural gas or propane.
What Is a Gas Line System
A gas line system is made up of pipes, valves, and fittings that send fuel to your appliances. The network distributes gas from the main supply—like a meter or propane tank—to things like water heaters, stoves, and furnaces.
Bigger pipes move gas to distribution points. Smaller lines branch off to each appliance.
You’ll find these parts in most systems:
- Main supply lines
- Branch lines to appliances
- Shutoff valves at every connection
- Pressure regulators
- Gas meters to track usage
Each connection needs the right fittings and a good seal to stop leaks. The whole thing runs at controlled pressure so every appliance gets the fuel it needs.
Types of Gases Used: Natural Gas and Propane
Natural gas travels through underground utility pipes right to your home. It’s mostly methane, burns pretty clean, and usually costs less than other fuels.
Propane (or LP gas) is stored in tanks at your place. It’s popular in rural spots where natural gas isn’t available, and you’ll need someone to refill the tank now and then.
Natural gas burns at about 1,030 BTUs per cubic foot. Propane is hotter—around 2,500 BTUs per cubic foot—so it’s more energy-dense, but you often pay more per BTU for propane.
Both fuels work in similar appliances, though sometimes you need a conversion kit to switch between them. Usually, the choice comes down to what’s available in your area.
When Gas Line Installation Is Needed
New construction always needs a full gas line setup to reach every appliance. It’s easier and cheaper to plan these lines early in the build.
If you’re adding a gas stove, fireplace, or water heater, you’ll probably need to extend your gas lines. Each new appliance should have the right size line and its own shutoff valve.
Outdoor gas lines are a thing too. Grills, patio heaters, and pool equipment all need weatherproof lines and fittings.
Restaurants, hotels, and factories need bigger gas lines for heavy-duty appliances. These jobs use larger pipes to handle greater fuel demand.
Sometimes you just have to replace old lines. Corrosion, damage, or code violations mean it’s time for an upgrade.
Planning and Permitting for Gas Line Installation
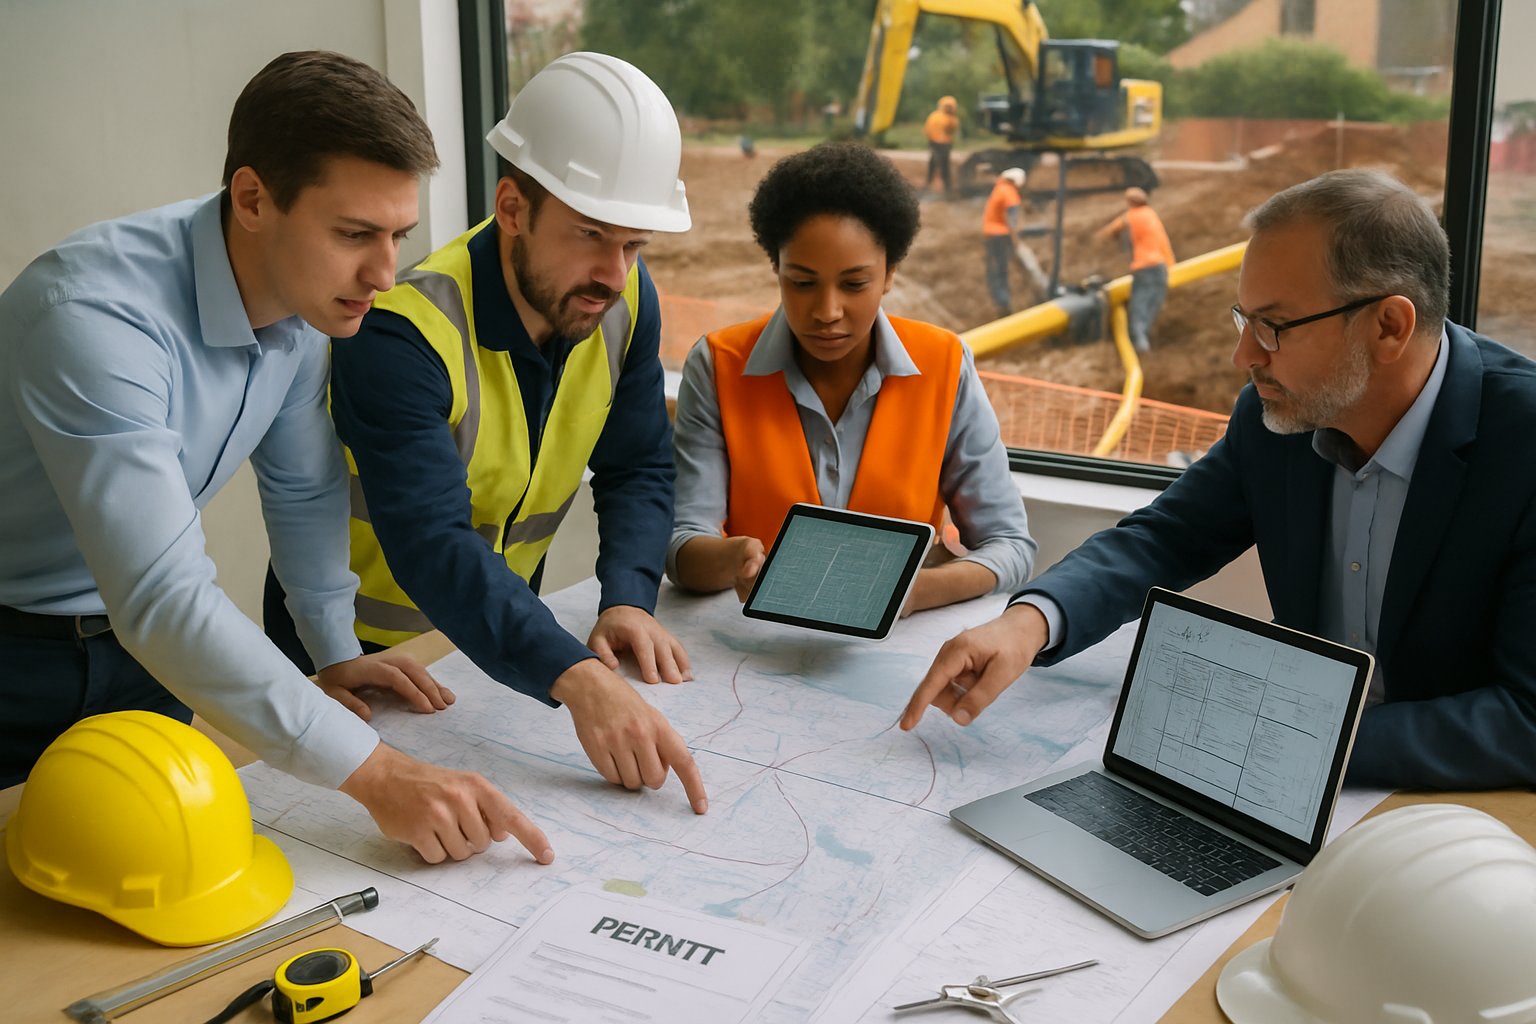
Good planning starts with mapping out your gas line route and knowing your property. Permits are almost always required, and you have to follow local codes.
Assessing the Property and Mapping the Route
I always walk the property first to figure out the best path from the meter to each appliance. That means measuring, looking for obstacles, and noting things like driveways or existing utilities.
For underground lines, I try to keep the path short and maintain clearances—at least 12 inches from electrical lines and 6 inches from water pipes.
Indoors, I look for wall cavities or ceiling spaces. Running lines through basements or crawl spaces usually saves a lot of hassle.
Before digging, I call for utility marking. It’s free and helps avoid nasty surprises.
Slopes on the property can complicate things. Sometimes you need deeper trenches or special fittings if the ground isn’t flat.
Obtaining Necessary Permits
Most gas line jobs need a permit from the local building department. I submit plans showing the route, pipe sizes, and where everything connects.
Permits usually cost between $50 and $200, depending on how big the project is. Adding one appliance is cheaper than running lines for a whole house.
Getting the permit can take a week or so. I include surveys, gas load calculations, and a list of materials with my application.
Some places want a licensed gas pro to apply for the permit. I always double-check the rules before starting.
Inspections are part of the process. There’s usually one before covering the pipes and another before connecting the gas.
Checking Local Building Codes and Standards
Every area has its own rules about gas line materials and how to install them. I always review my local building code before picking pipes and fittings.
Typical code requirements cover:
- Minimum pipe sizes
- Where shutoff valves go
- How far apart to support pipes
- Pressure test procedures
- Venting for enclosed spaces
Burial depth changes by location, but 18-24 inches is common for homes. Busier areas might require deeper trenches.
Not every pipe material is allowed everywhere. Black iron and CSST are common, but some places have restrictions.
Violating code slows everything down and can get expensive fast. I always check for the latest updates.
Selecting Materials and Tools
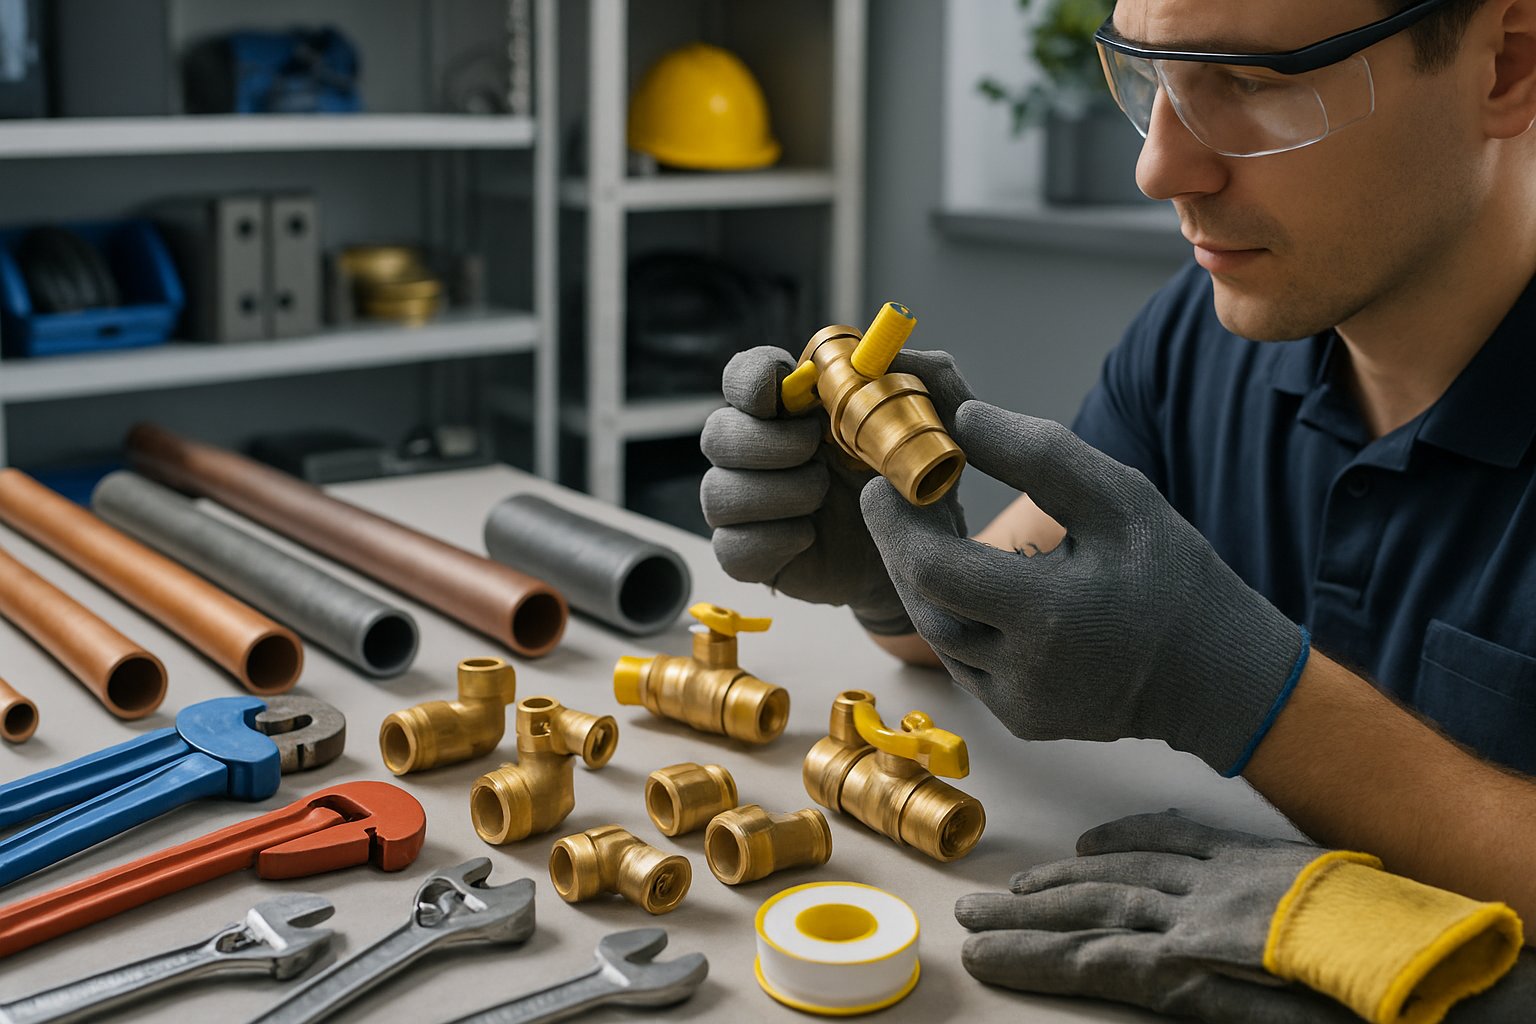
The right materials and tools make or break a gas line project. Some pipe types fit certain jobs better, and using approved fittings keeps things safe and up to code.
Choosing Gas Pipe Types and Materials
Black iron pipe is the classic choice. It’s tough and works both inside and out, standing up to pressure and lasting decades if installed right.
But black iron can rust if it gets wet, and threading each connection takes time.
Corrugated stainless steel tubing (CSST) is way more flexible. I can snake it around corners and through tight spots without a ton of fittings. CSST needs proper bonding and grounding to guard against lightning.
It’s great for retrofit jobs where rigid pipe would be a pain. CSST costs more but usually saves labor.
For underground work, PE (polyethylene) pipe is best. It’s yellow for natural gas, resists corrosion, and handles soil movement.
PE pipe connects with mechanical fittings or fusion welding. You can’t use it indoors, so you need special transitions where it enters the building.
Required Tools and Equipment
A pipe cutter matched to your pipe type gives you clean, straight cuts. Black iron needs a heavy-duty cutter, while CSST takes a special tool to avoid damaging it.
Pipe wrenches are a must for black iron. I use two—one for the fitting, one for the pipe. Pick sizes that fit your project.
A gas leak detector is handy for checking connections. Electronic ones are faster than soap solutions and spot tiny leaks.
If you’re threading black iron, you’ll need a threading machine or manual dies.
Torque wrenches help tighten fittings just right. Too tight and you might damage threads; too loose and you risk leaks.
Gas Fittings and Components
Gas valves control the flow to each appliance or pipe section. Ball valves are quick to shut off and work for most jobs. They should be rated for gas and meet code.
Regulators drop the pressure from the main line to safe appliance levels. Different appliances sometimes need different pressures.
Fittings have to match your pipe material. Black iron uses threaded fittings with pipe dope or thread tape. CSST has special mechanical fittings that seal without threading.
Unions make it easier to disconnect things for maintenance or swapping out appliances. They’re super handy at appliance hookups.
CSST requires bonding wire connections by code. Bonding helps prevent electrical buildup that could get dangerous during storms.
Test fittings and caps are useful during pressure testing. They temporarily seal pipe ends while you check for leaks.
Sizing and Designing Your Gas Line System
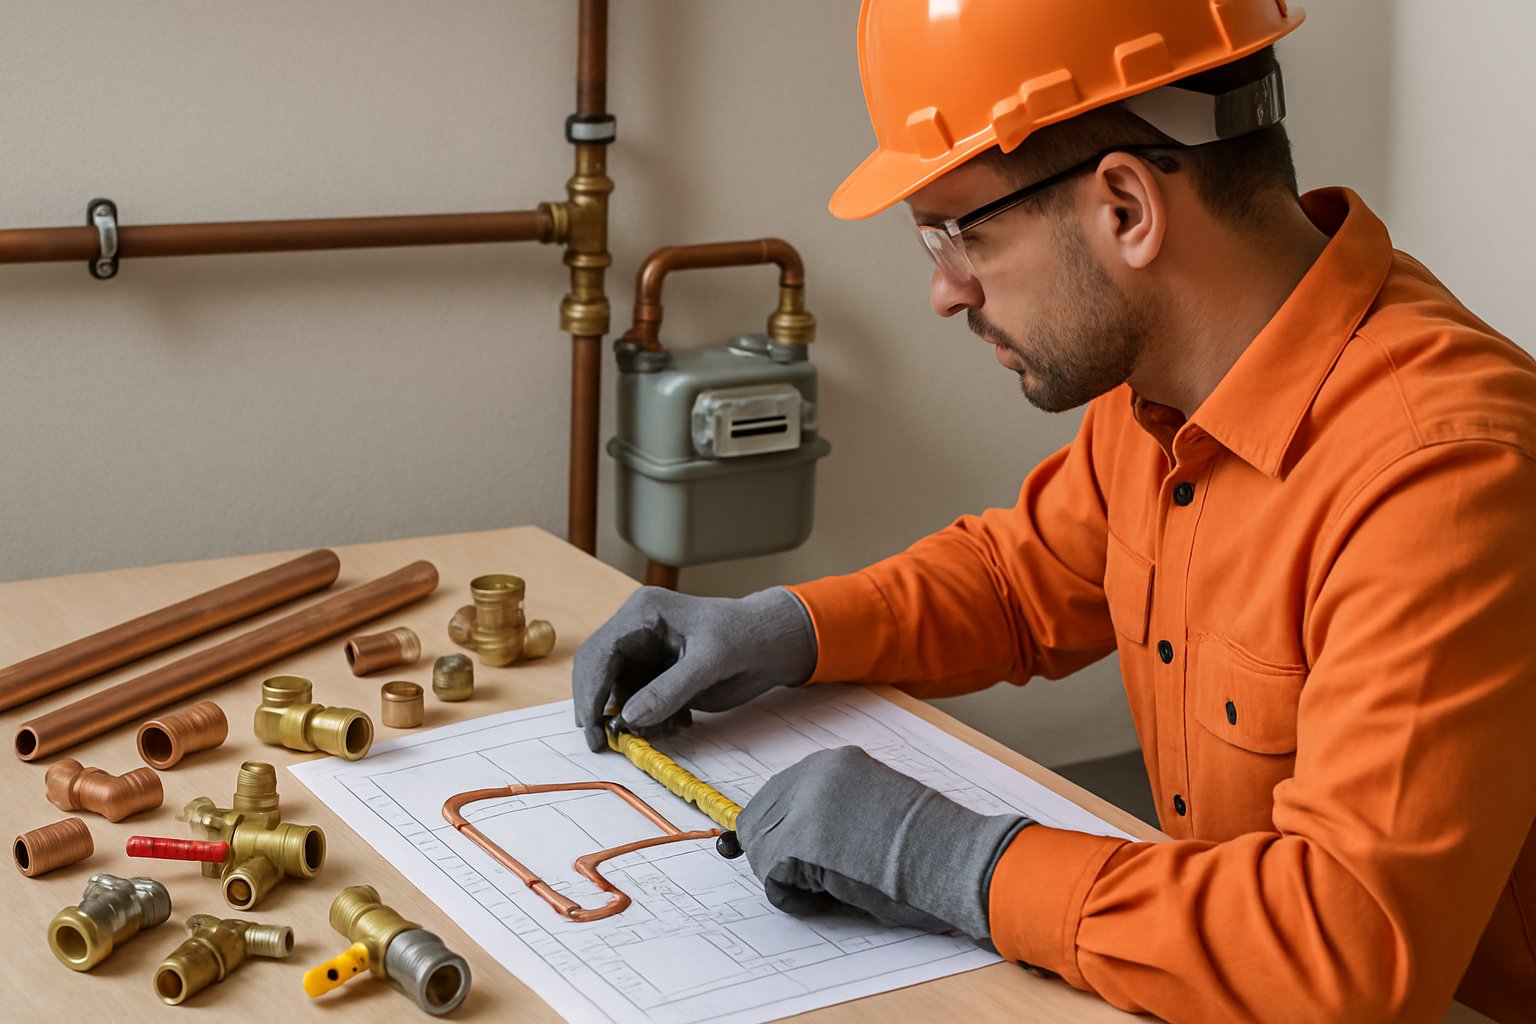
Sizing a gas line means figuring out your total BTU demand, picking the right pipe size for the gas flow, and making sure the pressure ratings are spot on. If you get these right, your system will deliver enough gas and stay safe.
Calculating BTU Requirements
First, add up the BTU ratings for every appliance you’ll connect. Check the manufacturer specs for each one.
Typical home appliances use:
- Furnaces: 80,000-120,000 BTU
- Water heaters: 30,000-50,000 BTU
- Gas ranges: 30,000-65,000 BTU
- Fireplaces: 30,000-60,000 BTU
I like to add 10% to the total for a safety margin and possible future upgrades. For example, if you need 200,000 BTU, size for 220,000 BTU.
The BTU load calculation tells you the minimum pipe size you’ll need. If the pipe’s too small, you get pressure drops and poor performance.
Pipe Sizing Considerations
Pipe size depends on total BTUs, length of the run, and gas type. Longer pipes need bigger diameters to keep the pressure up.
Natural gas and propane need different pipe sizes because they have different densities. Propane usually takes smaller pipes for the same BTU load.
Common sizes:
- 1/2 inch: Up to 130 feet for 60,000 BTU
- 3/4 inch: Up to 260 feet for 120,000 BTU
- 1 inch: Up to 400 feet for 200,000 BTU
Keep gas velocity under 60 feet per second to avoid big pressure losses. Manufacturer sizing charts are helpful—they factor in material, length, fittings, and elevation.
CSST has its own sizing rules because of its flexible design and corrugations.
Determining Pressure Ratings
Gas systems run at certain pressures, which affects pipe size and how appliances work. Most homes use low pressure (7 inches water column) or sometimes high pressure (2 PSI).
Low pressure needs bigger pipes but simpler appliance hookups. High pressure uses smaller pipes and puts regulators at each appliance.
Pressure testing is a must before you turn on the gas. I test at 1.5 times the working pressure for at least 10 minutes. If the pressure doesn’t drop, you pass.
Regulators bring the pressure down for each appliance. Most home appliances need 7 inches water column, no matter the system’s main pressure.
I check pressure drop from the meter to the appliance with a manometer or digital gauge. Total drop shouldn’t be more than 0.5 inches water column.
Step-by-Step Gas Line Installation Process
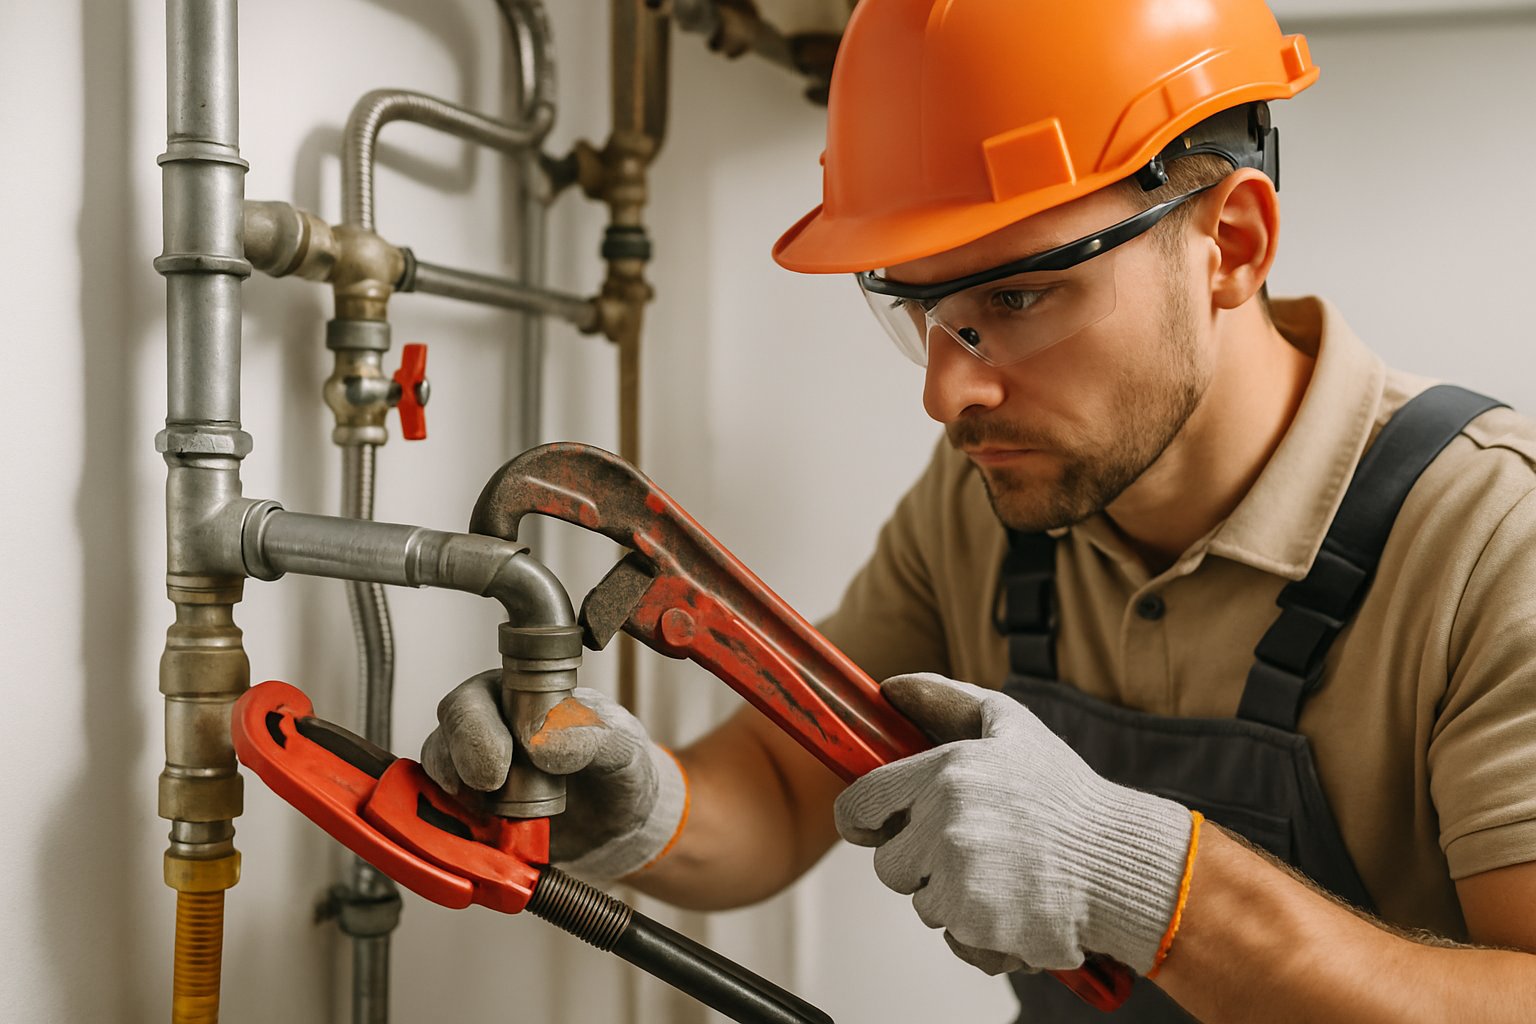
Installing gas lines isn’t something you can just wing. You need to prep carefully, trench properly for any underground sections, assemble pipes with secure connections, and put shut-off valves in the right spots.
Every step means following safety protocols and building codes to the letter. There’s really no shortcut here.
Preparation and Safety Measures
First thing I do? I shut off the main gas supply at the meter. No gas should flow while I’m working, period.
Before digging, I always call 811 or my local utility marking service. They’ll mark out underground utilities—electric, water, other gas lines—so I don’t end up in a dangerous or expensive mess.
Permits come next. Local authorities almost always require them for gas line jobs, and you can’t skip the inspections at key stages.
Here’s what I keep on hand for safety:
- Gas leak detector
- Pipe wrench set
- Pipe threading machine
- Yellow CSST tubing or black steel pipe
- Approved pipe joint compound
I clear the area of anything flammable and make sure there’s good ventilation, especially if I’m working inside.
Bad weather can be a dealbreaker. I avoid heavy rain or snow since wet conditions make trenching risky and can mess with joint sealing.
Trenching for Underground Gas Lines
For homes, I dig trenches at least 18 inches deep. Commercial jobs? Sometimes deeper, depending on local rules and pipe size.
Trench width usually runs 12 to 16 inches, enough to fit the pipe and backfill without causing damage.
I keep the trench depth consistent. If it’s uneven, the pipe could end up stressed and spring leaks later.
Before laying pipe, I clear rocks, roots, and anything sharp from the trench bottom. Usually, I’ll bed the pipe in sand or fine soil for a smooth base.
I lay yellow warning tape about 12 inches above the gas pipe. That way, future diggers get a heads-up before hitting anything dangerous.
If I need to go under driveways or sidewalks, I use horizontal boring equipment. It costs more but keeps the surface intact and saves the landscaping.
Assembling and Securing Gas Pipe
I measure and cut each pipe to the right length. Black steel pipe needs threading at the ends, while CSST tubing uses special compression fittings.
I only apply pipe joint compound to the male threads—never the female ones. That keeps excess goop out of the gas system.
First, I hand-tighten each connection, then finish with a pipe wrench. Too tight and you’ll crack something; too loose and you’ll get leaks.
With CSST, I stick to the manufacturer’s instructions. Flexible lines need their own tools and techniques, not the same as rigid pipe.
I support exposed gas pipe every 6 to 8 feet using hangers or brackets. This keeps the pipe from sagging and taking stress at the joints.
Gas pipes need to stay at least 6 inches from electrical panels or anything that could ignite. I always double-check those clearances.
Once I finish assembly, it’s time to test. I pressurize the system to 1.5 times its normal pressure and check all joints with a soap solution or an electronic leak detector.
Gas Shut-Off Valve Installation
I put the main shut-off valve within 6 feet of where the gas line enters the building. It needs to be easy to get to in an emergency.
Each appliance gets its own shut-off valve, also within 6 feet. That way, you can work on one appliance without shutting down the whole house.
Handles should move perpendicular to the pipe when closed. That makes it obvious if the valve’s open or shut during an emergency.
I prefer ball valves for most homes. They’re reliable, close with a quarter turn, and they don’t rust out like gate valves.
Before I finish, I test every shut-off valve. If it doesn’t turn smoothly or seal tight, it’s getting replaced.
For outdoor gas lines, I use weather-rated valves. Those hold up better against freezing and corrosion.
I mark all valve locations and give homeowners diagrams. Quick access can make a huge difference in an emergency.
Inspection, Testing, and Safety Validation
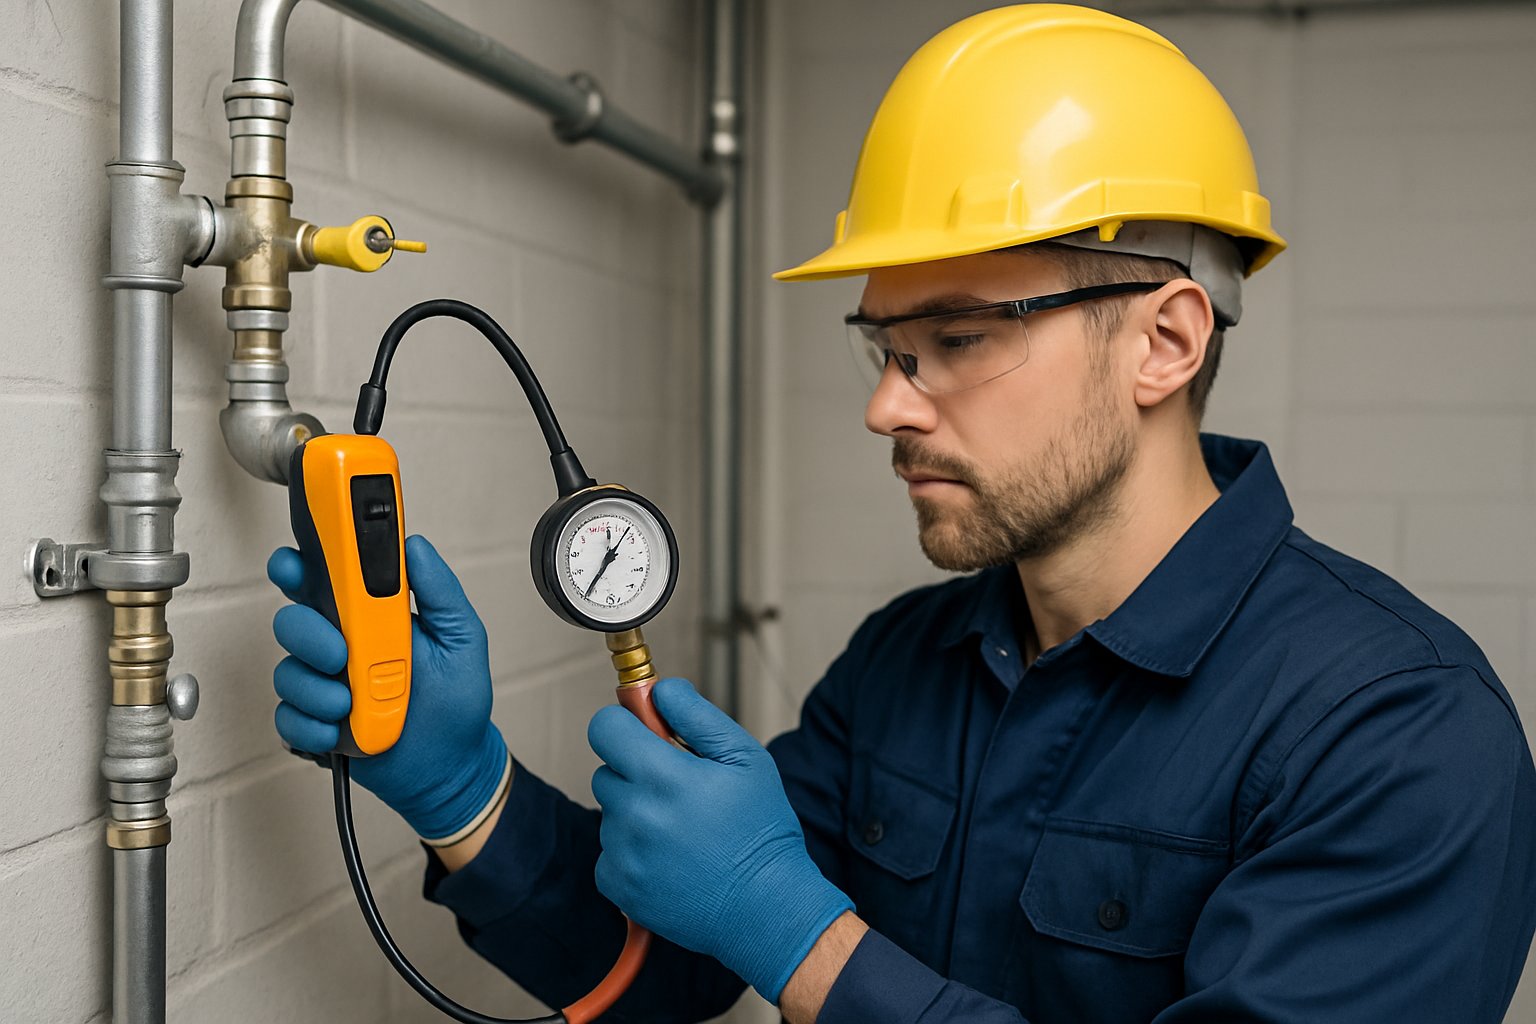
Before you ever turn on the gas, you need a thorough test and a professional to sign off. Pressure testing checks for leaks, and you’ve got to confirm every joint is safe.
Leak Testing Methods
I always use more than one way to check for leaks. The classic method is to brush soapy water over every joint and fitting.
If there’s gas leaking, you’ll see bubbles where it escapes. This soap test method is still great for catching even small leaks.
I also use electronic gas detectors. These gadgets pick up tiny amounts of combustible gas, sometimes down to parts per million. I run them along the pipes and around appliances.
Combining visual checks and electronics gives me peace of mind. For underground lines, you have to be extra careful since leaks can travel through soil.
Key leak testing steps:
- Brush or spray leak solution on every connection
- Scan with an electronic detector
- Test at working pressure after install
- Double-check appliance hook-ups
Pressure Testing the System
Pressure testing is how I know the system’s solid before letting any gas in. I use air or inert gas—never oxygen—at about 10-15 psi for homes.
I isolate the new section and pressurize it with gauges. It has to hold that pressure for at least 15 minutes, no drops allowed. Proper pressure testing procedures mean documenting readings and noting the time.
Test times can vary, especially for bigger systems. The gauge needs to be sensitive enough to catch even small pressure drops.
If a test fails, I check every joint and start over. I usually snap a photo of the gauge and test setup for records.
Professional Inspection and Final Approval
A licensed gas pro has to check all the work before you can turn on the system. Permits and inspections are required for new installs.
Inspections happen twice—once before covering pipes and again after appliances are hooked up. The inspector checks materials, pipe sizes, supports, and safety features.
I coordinate with the building department to schedule these. You can’t move forward until each stage gets approved. For buried lines, inspection has to happen before you backfill.
After approval, the certification process confirms compliance with codes. This paperwork stays with the building record.
Inspection checklist:
- Material specs and install methods
- Pipe sizing and supports
- Shutoff valve placement
- Sediment traps at appliances
- Bonding for CSST systems
Once you pass, you can connect gas service and commission the system. I hand over test records and inspection certificates to the property owner.
Maintenance, Repairs, and Upgrades
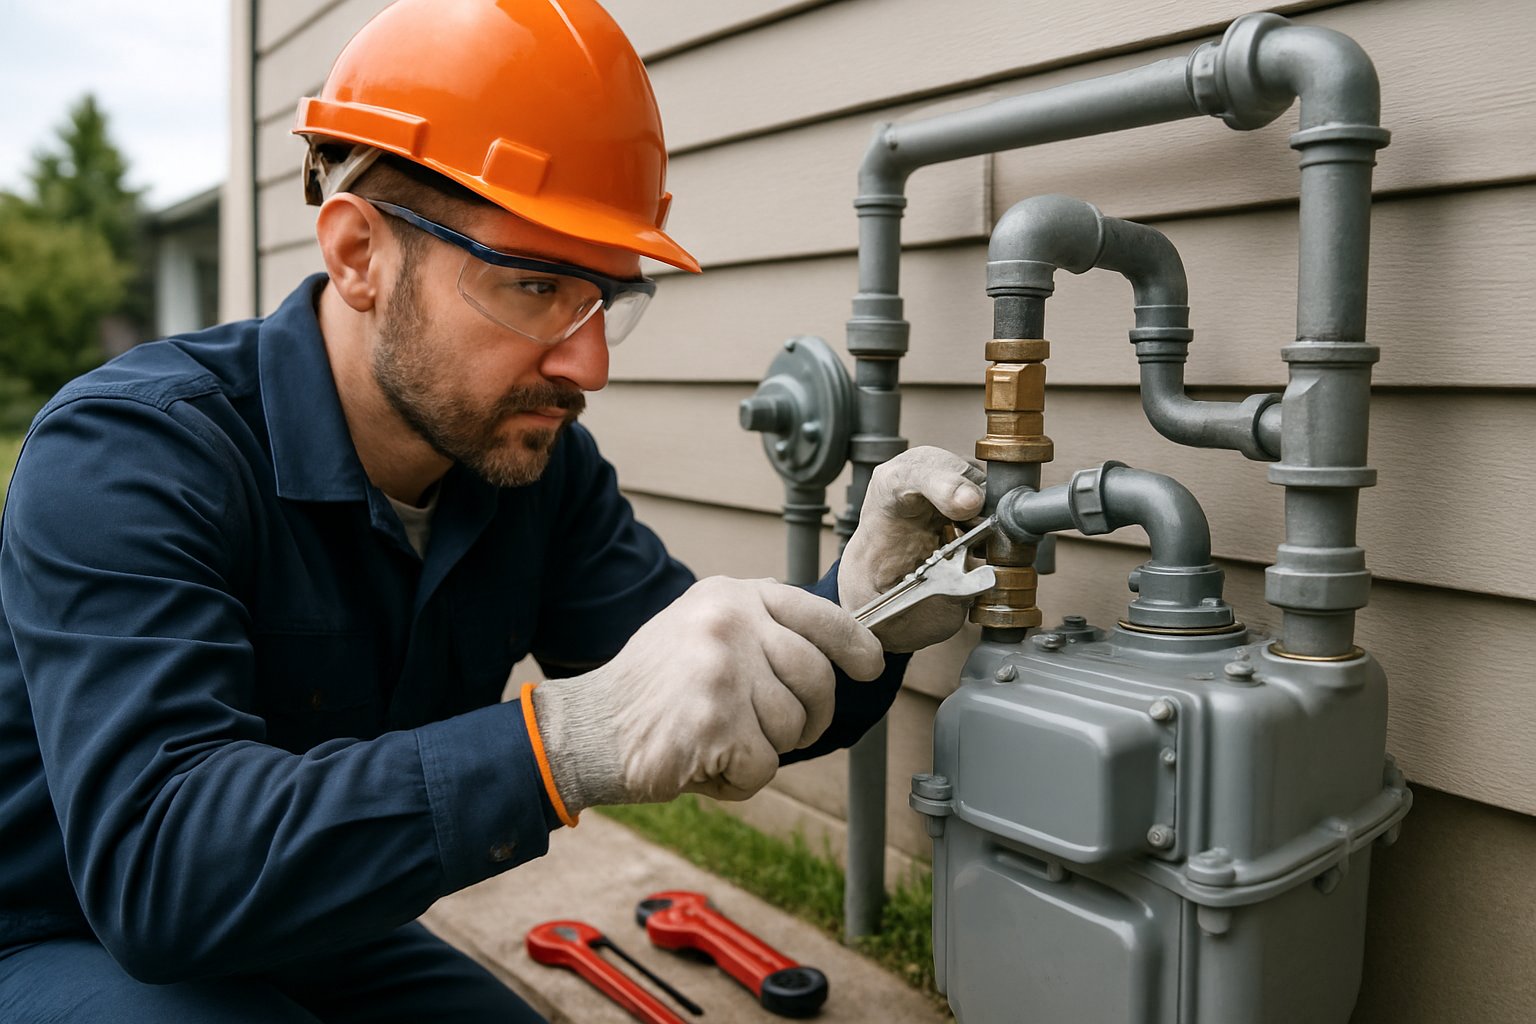
Gas lines need regular checkups to stay safe and work right. Maintenance stops leaks, repairs fix problems before they get ugly, and upgrades can make the system safer or more efficient.
Routine Maintenance Procedures
I suggest annual inspections by a qualified tech. These catch issues early and keep your system in shape.
During a visit, the tech checks gas pressure and looks for loose or worn fittings. Loose fittings are a big risk for leaks.
I always test shut-off valves during these checkups. They need to work smoothly, especially if there’s ever an emergency. The tech also checks gas flow to all appliances.
Maintenance means clearing debris from outdoor lines. Plants, dirt, and junk can damage exposed pipes over time.
Key maintenance tasks:
- Pressure test the whole system
- Tighten up loose fittings
- Lube valve handles
- Check pipe brackets
- Test appliance connections
Recognizing Signs of Gas Line Issues
I tell homeowners to keep an eye (and nose) out for trouble. The classic warning is a rotten egg or sulfur smell near pipes or appliances.
Listen for hissing around gas lines. That usually means a leak, and it’s not something to ignore.
Dead grass or plants near an outdoor line can signal a leak underground. Gas kills vegetation as it escapes through the soil.
If your gas bill suddenly spikes, check for leaks or inefficiency. Compare month to month to spot any weird jumps.
Call a pro right away if you notice:
- Strong gas smells inside or out
- Hissing or whistling from pipes
- Dead plants near gas lines
- Dirt blowing up from the ground
- Any visible pipe damage
Upgrading Old Gas Lines and Components
Old gas lines sometimes need a full upgrade to meet today’s standards. I see a lot of homes with pipes too small for modern appliances.
System upgrades are usually needed when adding things like a new range, water heater, or grill. The old setup might not have the capacity.
If I find corroded steel pipes, I swap them out for copper or polyethylene. These last longer and don’t rust out as fast.
When replacing pipes, I also upgrade the fittings. Newer fittings seal better and are easier to service down the line.
Sometimes, you’ll need a bigger gas meter if you’re adding appliances. The utility company has to approve any meter changes.
Common upgrade scenarios:
- Swapping old steel pipes for copper or poly
- Running bigger lines for more capacity
- Adding lines for new appliances
- Upgrading to safer, modern fittings
- Installing extra shut-off valves
Frequently Asked Questions
Gas line installation comes with a lot of rules, sizing questions, and material choices. Most places require a pro by law, and costs can vary a lot depending on the job.
What are the safety requirements for installing a new gas line?
Let me be clear: Only certified professionals can install gas lines. Licensed techs follow CSA standards and local codes to keep things safe.
You need permits and inspections before turning on the gas. Every appliance should have a shut-off valve nearby for emergencies.
Pressure testing is a must before connecting to the gas supply. This uses air or water under pressure to spot leaks.
Underground lines have to be buried deep enough to avoid getting hit during yard work. Inside, you need to keep gas pipes away from electrical systems.
How do I determine the appropriate size for a residential gas line?
Sizing depends on the total BTUs for all your appliances. I tally up the needs for the furnace, water heater, stove—anything that runs on gas.
Longer distances from the meter mean you’ll need a bigger pipe to keep pressure up.
A licensed gas fitter will do the load calculations using each appliance’s specs. They’ll look at what you have now and what you might add later.
Residential pipe sizes usually run from half-inch up to two inches. Commercial jobs may need bigger lines.
What is the typical cost range for professional gas line installation?
Most residential jobs run between $400 and $2,000. The distance from the meter and project complexity are big factors.
Pipe material and diameter play into the price. Underground work costs more than running pipe inside because of the digging.
Permits and inspections add to the bill, and more appliances means a bigger job.
Commercial installations can get pricey fast. Routing through old buildings takes more time and materials.
Can I install a gas line myself, or do I need to hire a certified professional?
Nope, you can’t install gas lines yourself. DIY gas work is illegal and dangerous—explosions and carbon monoxide are no joke.
Only licensed pros can do this work. They know the safety rules and local codes.
If you try it yourself, you risk fines and code violations. Insurance probably won’t cover any damage from unpermitted gas work.
Pros handle permits, inspections, and usually provide warranties. It’s just not worth the risk doing it any other way.
What materials are commonly used for gas lines, and how do I choose the best one for my project?
Black iron pipe is the go-to choice for most indoor gas lines. People like it because it’s durable and doesn’t mind high pressure or temperature swings.
For underground setups, folks usually pick polyethylene piping. It stands up well to soil conditions, plus it’s flexible and way easier to install in a trench.
Copper tubing sometimes works for short interior runs, though it comes with its own set of installation rules. CSST, or Corrugated Stainless Steel Tubing, gives you some flexibility—literally—for squeezing through tight spaces.
Choosing the right material really comes down to where you’ll use it, what kind of pressure you’re dealing with, and whatever your local codes demand. Most licensed contractors rely on these factors and what the manufacturer suggests.
How should I maintain my gas line to ensure safety and efficiency?
I try to schedule annual inspections with a licensed professional. They check for leaks and make sure the system’s in good shape.
Some warning signs are pretty obvious, like the smell of rotten eggs or a strange hissing sound near the gas lines. If my gas bill suddenly spikes for no clear reason, that’s a red flag too.
If I notice any of those things, I don’t wait around—I call a professional right away.
Outdoor gas lines need a bit of extra care. I keep vegetation away from gas meters and exposed pipes, and I watch out for weather damage or shifting soil.
It’s important to keep shut-off valves easy to get to in case of an emergency. I never try to fix gas lines myself; that’s a job for someone who knows exactly what they’re doing.


